How-to
How to install a Cardo Packtalk in your helmet
Published
Short answer
Remove the helmet's cheek pads, attach the Cardo mount to the left side of the shell with the clamp or adhesive plate, route the speaker cables under the liner and stick the speakers in the ear pockets centered on your ears. Use the corded mic glued inside the chin bar of a full face helmet, or the boom mic on a modular or open face helmet, then refit the pads and clip the unit on.
Gear for this job
All 6 picks compared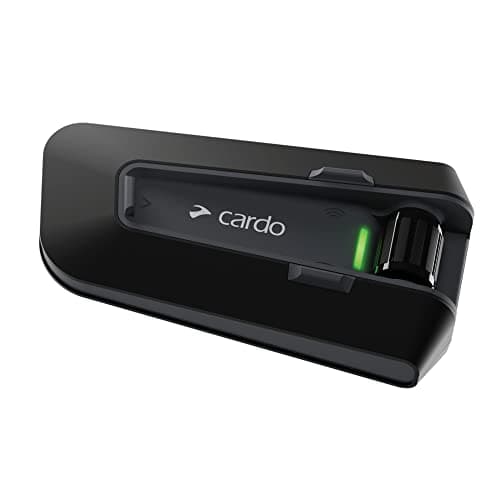
Cardo Packtalk Neo: 15 riders, up to 1 mile, lower price
See price on AmazonSee it on Amazon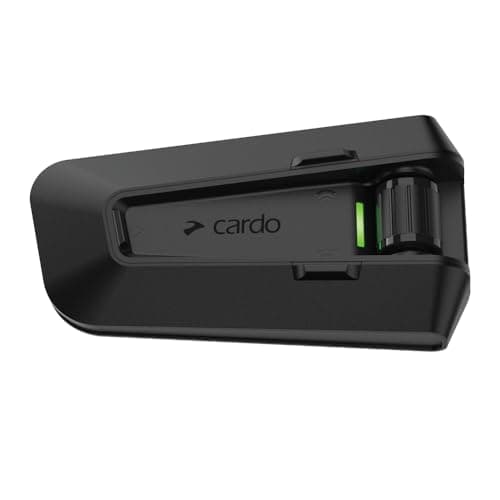
Cardo Packtalk Pro: crash detection, 45mm JBL speakers
See price on AmazonSee it on Amazon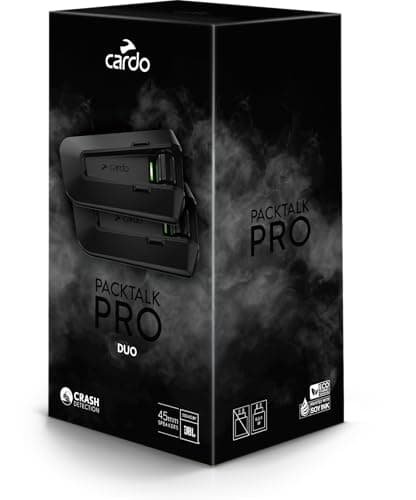
Cardo Packtalk Pro Dual Pack: two units for rider and pillion
See price on AmazonSee it on Amazon
A clean install makes the difference between crisp audio and a muffled intercom that hurts your ears. This page covers installing a Cardo Packtalk Edge, Pro or Neo in a full face, modular or open face helmet: choosing a mount, positioning speakers, routing the microphone and cables, and checking everything before you ride. It is for first time intercom owners and riders moving a unit to a new helmet. Always follow the instructions in your unit's Cardo manual where they differ.
Before you start
Charge the unit fully. Lay out the parts from the box: the mount or cradle, the audio kit with speakers, the corded mic and boom mic options, the adhesive pads and Velcro, and any speaker spacers. Have isopropyl alcohol wipes to clean the shell where the adhesive goes. The exact parts differ between Packtalk Edge, Pro and Neo, so check your box against the manual.
Check that your helmet works with an intercom. Many current helmets have speaker pockets in the EPS liner. Some newer helmets certified to ECE 22.06 have approved intercom fitments or specific mounting points; if your helmet maker lists approved accessories, use them. Do not drill, cut or glue anything into the EPS impact liner.
- Remove the cheek pads and, if needed, the comfort liner
- Find the speaker pockets in the EPS liner
- Decide where the unit will sit on the left side of the shell
- Test-fit the mount before peeling any adhesive
Step 1: Attach the mount
Most riders mount the unit on the left side, low and behind the cheek, so it can be operated with the left hand while the right stays on the throttle. Cardo supplies an adhesive mount for most helmets and, for some units and helmets, a clamp that slides between the shell and the liner. On the Packtalk Edge and Pro, the mount is Cardo's magnetic Air Mount, which lets the unit snap on and off easily.
- 1
Hold the mount against the shell and check the unit clears the helmet edge, strap and any vents.
- 2
For a clamp mount: slide the clamp between the shell and the EPS liner at the bottom edge and tighten it until it is firm. Do not force it if it does not fit.
- 3
For an adhesive mount: clean the area with alcohol, let it dry, peel the backing and press the mount firmly for 30 seconds or more.
- 4
Leave adhesive mounts to cure, ideally overnight, before clipping the unit on and riding.
Note.If you are not sure an adhesive or clamp mount suits your helmet, ask the helmet maker. Some helmet makers state that non-approved accessories affect certification.
Step 2: Position the speakers
Speaker position decides how well you hear. The speakers should sit directly over your ear openings, as close as possible without pressing hard on your ears. Even a small offset makes audio sound thin at highway speed.
Put the helmet on, feel for where your ear canal sits against the liner, and mark it with a small piece of tape. Take it off, stick the Velcro pads in the speaker pockets centered on those marks, and attach the speakers. If the pockets are deep, use the spacers supplied in the kit to bring the speakers closer. If the speakers press painfully, remove a spacer. Speaker size differs by model, with the Packtalk Pro listing larger 45mm speakers than the 40mm units on other models.
Step 3: Route the microphone
For a full face helmet, stick the corded mic inside the chin bar so it sits close to and directly in front of your mouth, then tuck the cable under the cheek pad. For a modular, use the boom mic so it is not lifted away from your mouth when the chin bar flips up. Point the side marked for the mouth toward your lips, and set the boom so the mic sits just in front of them without touching. Open and half helmets are covered in intercoms for open face and half helmets.
Full face
- Mic
- Corded (wired) mic
- Where it goes
- Velcro inside the chin bar, in front of your mouth
Modular
- Mic
- Boom mic
- Where it goes
- Between shell and liner on the left, arm swung in front of your mouth
Open face / 3/4
- Mic
- Boom mic
- Where it goes
- Same as modular, with the windsock fitted
Half helmet
- Mic
- Boom mic
- Where it goes
- Mounted at the left side; see open face guidance
| Helmet type | Mic | Where it goes |
|---|---|---|
| Full face | Corded (wired) mic | Velcro inside the chin bar, in front of your mouth |
| Modular | Boom mic | Between shell and liner on the left, arm swung in front of your mouth |
| Open face / 3/4 | Boom mic | Same as modular, with the windsock fitted |
| Half helmet | Boom mic | Mounted at the left side; see open face guidance |
Step 4: Tidy cables and refit the liner
Route all cables under the comfort liner and cheek pads so nothing presses against your head or ears. Leave a little slack near the mount so the cable is not strained. Refit the cheek pads, making sure the snaps engage fully and the pads are not pushed out of position by cables, which can change the helmet's fit.
Clip the unit onto the mount and connect the audio kit cable if your model uses one. Then put the helmet on and check that it still fits snugly, as described in how should a motorcycle helmet fit.
Step 5: Test before you ride
Still choosing a unit? The best Cardo Packtalk intercoms guide explains the Edge, Pro and Neo, and Cardo Packtalk Edge vs Pro compares the two top models. If something goes wrong later, start with Cardo Packtalk problems.
- 1
Power the unit on and pair your phone; see how to pair a Cardo Packtalk.
- 2
Play music and confirm both speakers work and the volume is balanced.
- 3
Use the Cardo Connect app or a test call to check the mic picks up your voice clearly.
- 4
Update the firmware before your first group ride; see how to update a Cardo Packtalk.
- 5
Ride a short loop at highway speed and adjust speaker position if the audio is weak.
Frequently asked questions
Which helmets are compatible with a Cardo Packtalk? Most full face, modular and open face helmets can take one, especially those with speaker pockets. Some helmet makers offer approved fitments; check your helmet's manual.
Should I use the clamp or adhesive mount? Use a clamp if it fits firmly between shell and liner without force. Otherwise use the adhesive mount on a clean, smooth area of the shell.
Why does my Packtalk sound quiet? Speakers are usually too far from or offset from your ears. Recenter them and add spacers.
Can I move my Packtalk to another helmet? Yes. Buy a second audio kit and mount for the other helmet so the unit just clips across.
What you need for this
- See price on AmazonAmazon
Cardo Packtalk Neo: mesh for up to 15 riders
From Best Cardo Packtalk intercoms: Pro, Edge, Neo and Outdoor
 See price on AmazonAmazon
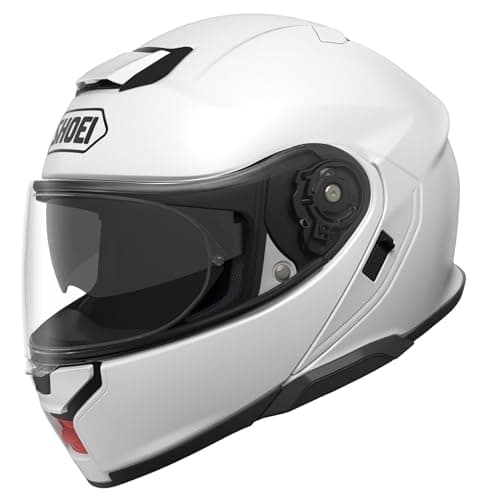
Shoei Neotec 3: modular that reduces wind noise
From Best modular motorcycle helmets for touring and commuting